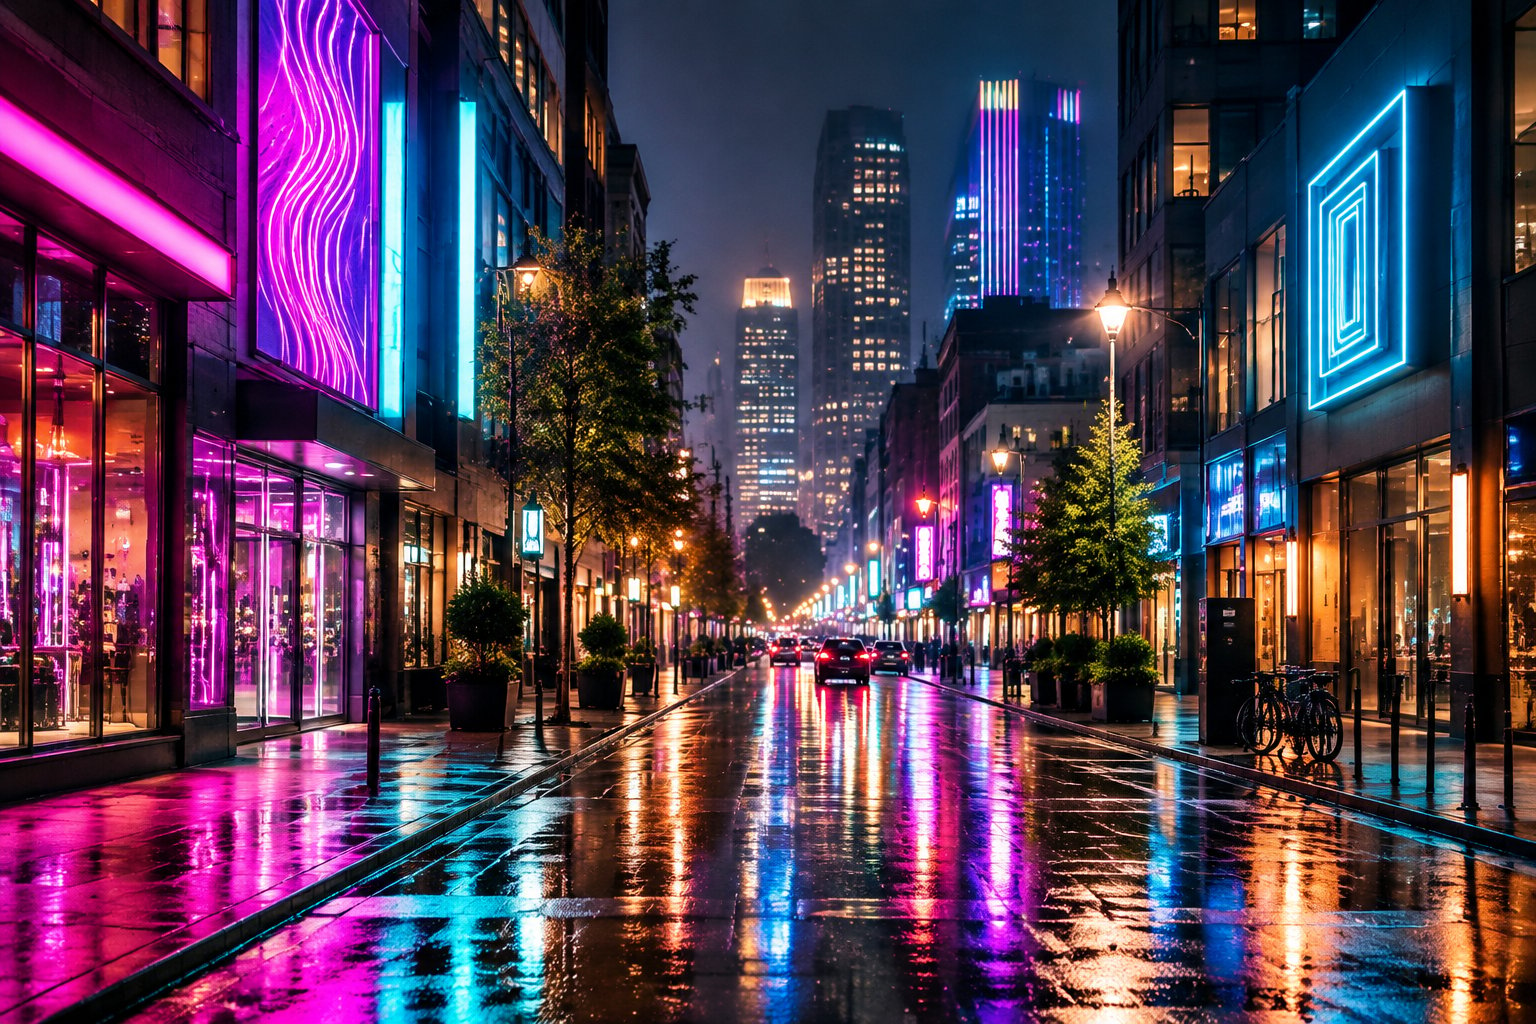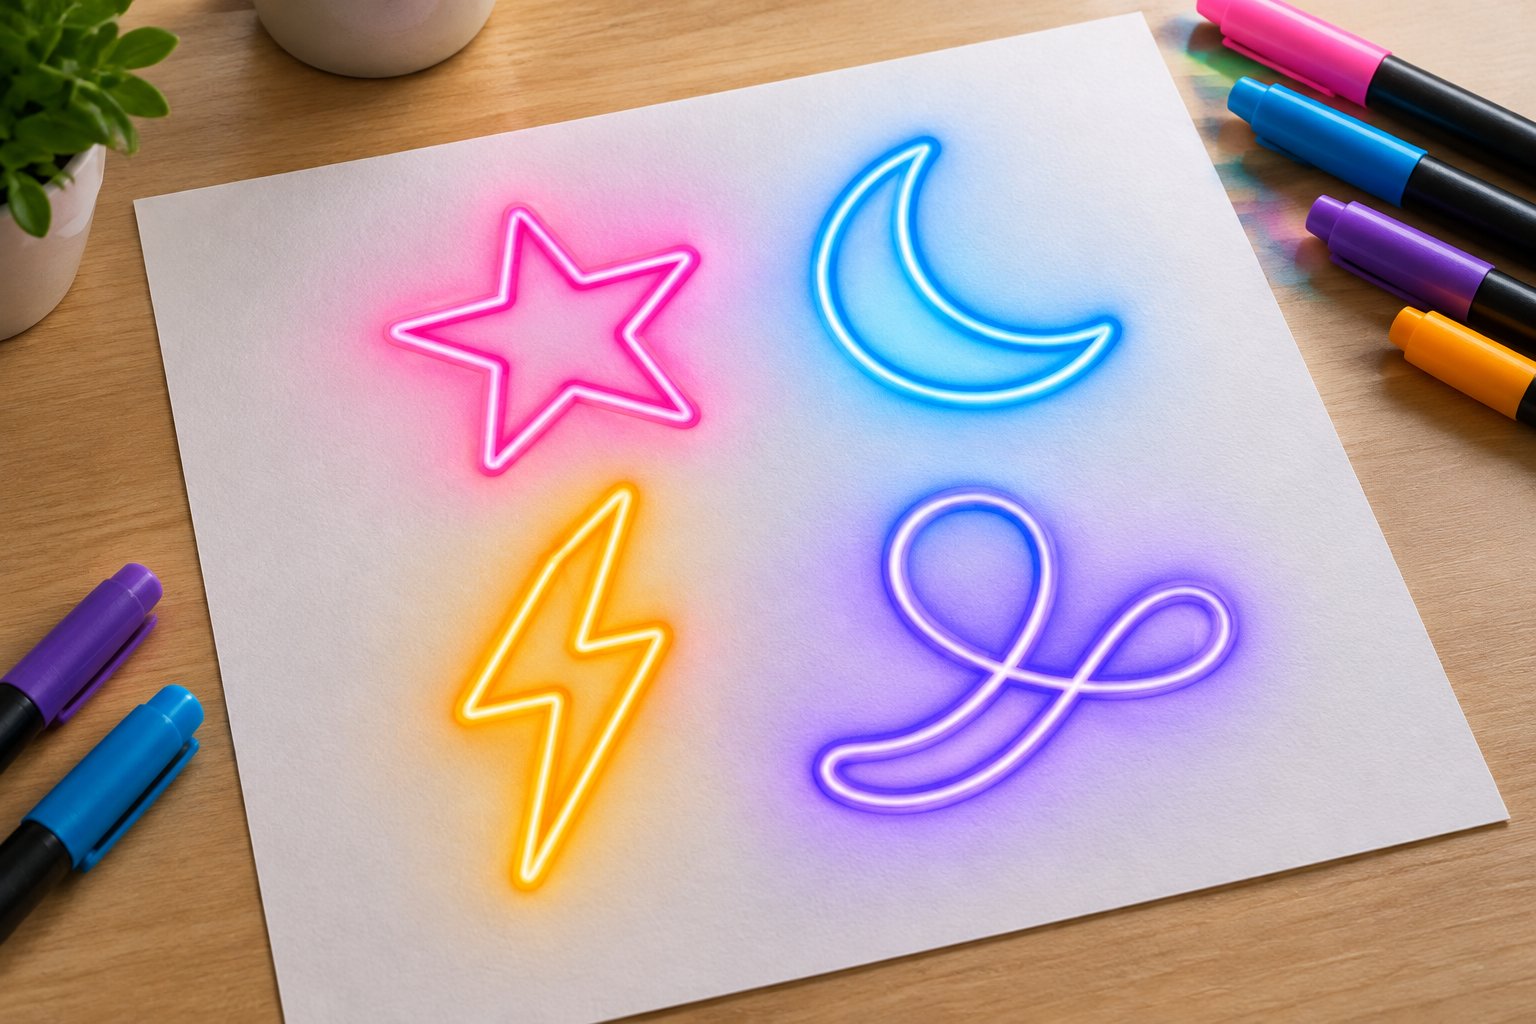
Drawing a convincing neon sign comes down to one trick: paint the light, then paint the tube. To make a neon signs drawing look realistic, work on a dark background, draw each line as a continuous tube with a bright white or pale core, then build a soft halo of saturated colour around it. That layered glow is what separates a flat coloured outline from something that reads as electric light.
At GlowX, we turn sketches like these into made-to-order LED signs every week, so we see firsthand which drawings translate cleanly into light. The same habits that make neon art look believable on paper (continuous lines, simple shapes, readable lettering) also make a stronger starting point for custom neon signs.
Once you can sketch a glowing word or symbol, you are halfway to a design you could hang on your wall. If you would like to see your drawing as a real sign, send it to info@glowx.ca for a free mockup and quote, whether you are in Toronto, elsewhere in Canada, or ordering from abroad.
How Do You Draw Glowing Letters and Shapes?

Start with a simple shape on a dark background and treat every line as a physical tube of light. Real neon is bent from a single run of tubing, so the most believable drawings connect letters wherever possible and avoid tiny, fussy details.
Follow this sequence for letters or icons:
- Sketch lightly in pencil. Choose monoline script lettering or a bold icon such as a heart, lightning bolt, or palm tree.
- Keep stroke width even. Neon tubing has a constant thickness, so avoid thick-and-thin calligraphy.
- Round the corners. Tubes bend in curves; sharp 90-degree joins look drawn instead of lit.
- Plan the “jumps.” Where letters cannot connect, leave short gaps. On real signs, those sections are blacked out.
- Pick your neon colors. Electric blue, lime green, hot pink, and warm yellow give the strongest neon effect against black.
Limit yourself to two or three colours per piece. A pink word with an electric blue underline reads clearly; six colours competing in one small design turn muddy.
For practice, draw the same short word three times at increasing sizes. You will quickly notice that curvy script spaced generously glows better than tightly packed block letters.
How Can You Create a Neon Glow on Paper?
Black paper plus three layers of colour produces the most reliable glow by hand. Each layer has a job: the halo, the tube, and the hot centre.
Materials we suggest:
- Black cardstock or black sketchbook paper
- Acrylic paint markers or fluorescent paints in your chosen colours
- A white gel pen or white acrylic marker
- Soft pastels or coloured pencils for blending the halo
- A cotton swab or blending stump
Method:
- Lay down the halo. Rub pastel or coloured pencil in a wide band, roughly 1 cm either side of your line, then smudge it outward with a swab so it fades into the black.
- Draw the tube. Trace the line in a solid, saturated marker or fluorescent paint, slightly narrower than you want the final stroke.
- Add the core. Run a thin white line down the centre of the coloured stroke. This bright highlight is what convinces the eye the tube is emitting light.
- Boost the edges. A second, lighter pass of halo colour right beside the tube deepens the glow.
Fluorescent paints add an extra kick under natural light, and they look especially striking under a blacklight. Let each layer dry before adding the white core, or it will blend into the colour and dull.
This style of neon art works well for party posters, birthday signs, and journal spreads.
How Do You Create a Digital Neon Effect?
Duplicating your line art and blurring the copies is the core of every digital neon effect. Whether you use Procreate, Photoshop, or a free app like MediBang Paint, the layer structure is the same.
- Fill the canvas with near-black. A very dark navy or charcoal often looks richer than pure black.
- Draw your lines on a new layer with a hard, round brush in white or a pale tint of your colour.
- Duplicate the layer twice. Colour the lower copies in your full neon shade.
- Apply Gaussian blur. Blur one copy lightly (around 5 to 10%) for a tight glow and the other heavily (20 to 40%) for a wide atmospheric halo.
- Change blend modes. Setting the glow layers to Add, Screen, or Glow Dodge intensifies the light where layers overlap.
- Keep the top line crisp. The sharp white layer on top acts as the tube’s core.
Photoshop users can also try Outer Glow and Inner Glow layer styles for quick results, adjusting spread and size until the halo feels soft.
A bonus of working digitally: you can export the clean line layer as an SVG or PDF. That vector file is the format we prefer for logo and artwork projects.
What Makes a Neon Drawing Look Realistic Instead of Blurry?
Contrast between a sharp core and a soft halo makes neon look real; blur everywhere makes it look out of focus. If your drawing feels hazy, the centre line is usually too dim or too wide.
Check these details:
| Problem | Fix |
|---|---|
| Whole design looks fuzzy | Redraw a crisp white core on top of the glow |
| Colours look dull | Use a darker background and more saturated neon colors |
| Glow looks patchy | Blend the halo in small circular motions or lower blur opacity |
| Lettering hard to read | Increase spacing between letters and simplify the font |
| Feels flat | Add faint reflected glow on the “wall” below the sign |
Small touches sell the illusion. A thin, unlit wire at the end of the tube, mounting clips, or a faint rectangle suggesting an acrylic backing all hint at a physical object.
Keep halos proportional too. A glow wider than the letters themselves swallows the shapes, especially where two letters sit close together. Leave enough dark background between strokes that each line stays distinct.
How Can GlowX Turn Your Drawing Into a Custom Sign?
We can turn a hand-drawn sketch, digital illustration, or logo into a made-to-order LED neon sign. Send a clear photo or file to info@glowx.ca, and our process page states that a visual mockup and exact custom price are sent within 24 hours.
What to include with your drawing:
- Approximate width and height (our Medium 20–24 in / 50–60 cm size is the most popular wall size)
- Preferred colours, such as Ice Blue, Pink, or Natural White
- Lighting choice: static, RGB 7 colour, or RGB full gradient with over 16 million colours
- Backboard style: clear cut-to-shape, rectangle plaque, decorative shape, or engraved acrylic
- Location (bedroom, café counter, wedding backdrop, outdoor storefront) and your deadline
Our designers trace the light path of your artwork, and very fine details may need simplifying so the finished sign stays readable. Production does not begin until you approve the design and final price.
Production normally takes 10 to 12 days after design approval, with shipping time additional. Every sign ships with a power adapter, dimmer or remote, hanging hardware, and instructions.
Customers ordering custom neon signs in Canada, from Calgary and Vancouver to Montreal and Ottawa, receive tracked delivery, and we ship worldwide. Browse our Custom Signs or Custom Logo Signs for inspiration.
Start With a Clear Sketch and Bring Your Idea to Light
A realistic neon drawing rests on a few consistent habits: a dark background, even-width lines that behave like tubing, a bright white core, and a soft, saturated halo. On paper, build those layers with pastels, markers, and a white gel pen; digitally, stack crisp line work over Gaussian-blurred copies.
Those same clean, connected lines give our team a strong foundation when converting neon art into custom neon signs. When your sketch is ready, email it to info@glowx.ca with your preferred size, colours, and date, and request your free mockup.
Related reading
customize your own sign · neon sign decor ideas · neon signs examples · neon sign gift ideas · neon signs for living room · neon signs girls bedroom · personal gift signs · GlowX shop
Neon Signs Depot vs. GlowX: 2026 Buying Guide
Neon Signs Dunelm: Designs, Prices and Custom Options 2026
Neon Signs Decor: Room Ideas and Custom Design Tips

Neon Signs Guy: Find the Right Custom Sign Maker
Neon Signs Garage: Custom Ideas and Buying Guide
Neon Signs Game Room: Custom Design and Setup Guide
Neon Signs for Classroom: Ideas, Design, and Setup
Neon Signs for Home: Room Ideas and Custom Design Tips
Neon Signs Edmonton Alberta: Custom LED Buying Guide