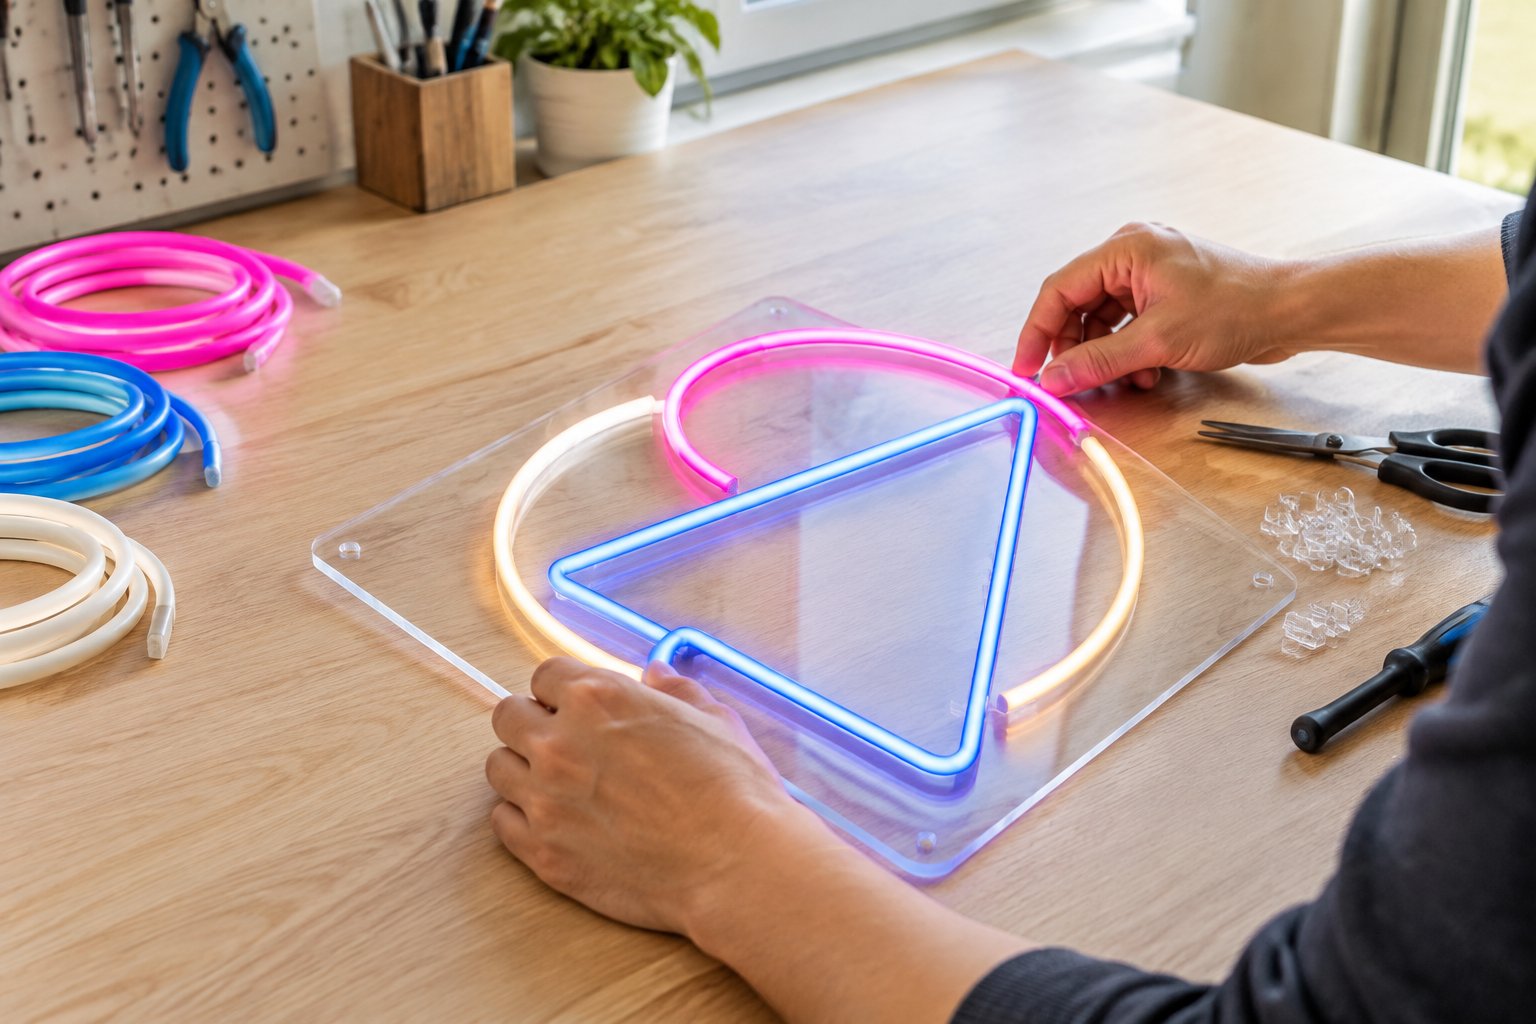
A homemade neon-style sign is a weekend project for most people with basic tools. The glow comes from low-voltage LED tubing bent along your lettering, fixed to a clear backer, and powered from a wall outlet. For a first DIY neon sign, use 12V LED neon flex mounted on 3 mm to 5 mm acrylic and powered by a certified plug-in adapter, because that combination gives the brightest, most even neon look while keeping every wire at low voltage.
At GlowX, we build made-to-order LED neon every week, and the same construction shows up in our finished pieces: flexible LED lighting inside a diffusing tube, mounted on an acrylic backing. A DIY version follows that logic on a smaller scale. Most failed builds come down to bends that are too tight, joints that are left exposed, or a power supply that is too small.
You will be able to pick the right light source, buy a complete parts list, design lettering that bends cleanly, and wire the sign so it is safe on a bedroom wall or at an event. If you would prefer to compare your plan against a professional build first, we are happy to send a free mockup and quote at GlowX.
Should You Use LED Neon Flex or EL Wire?
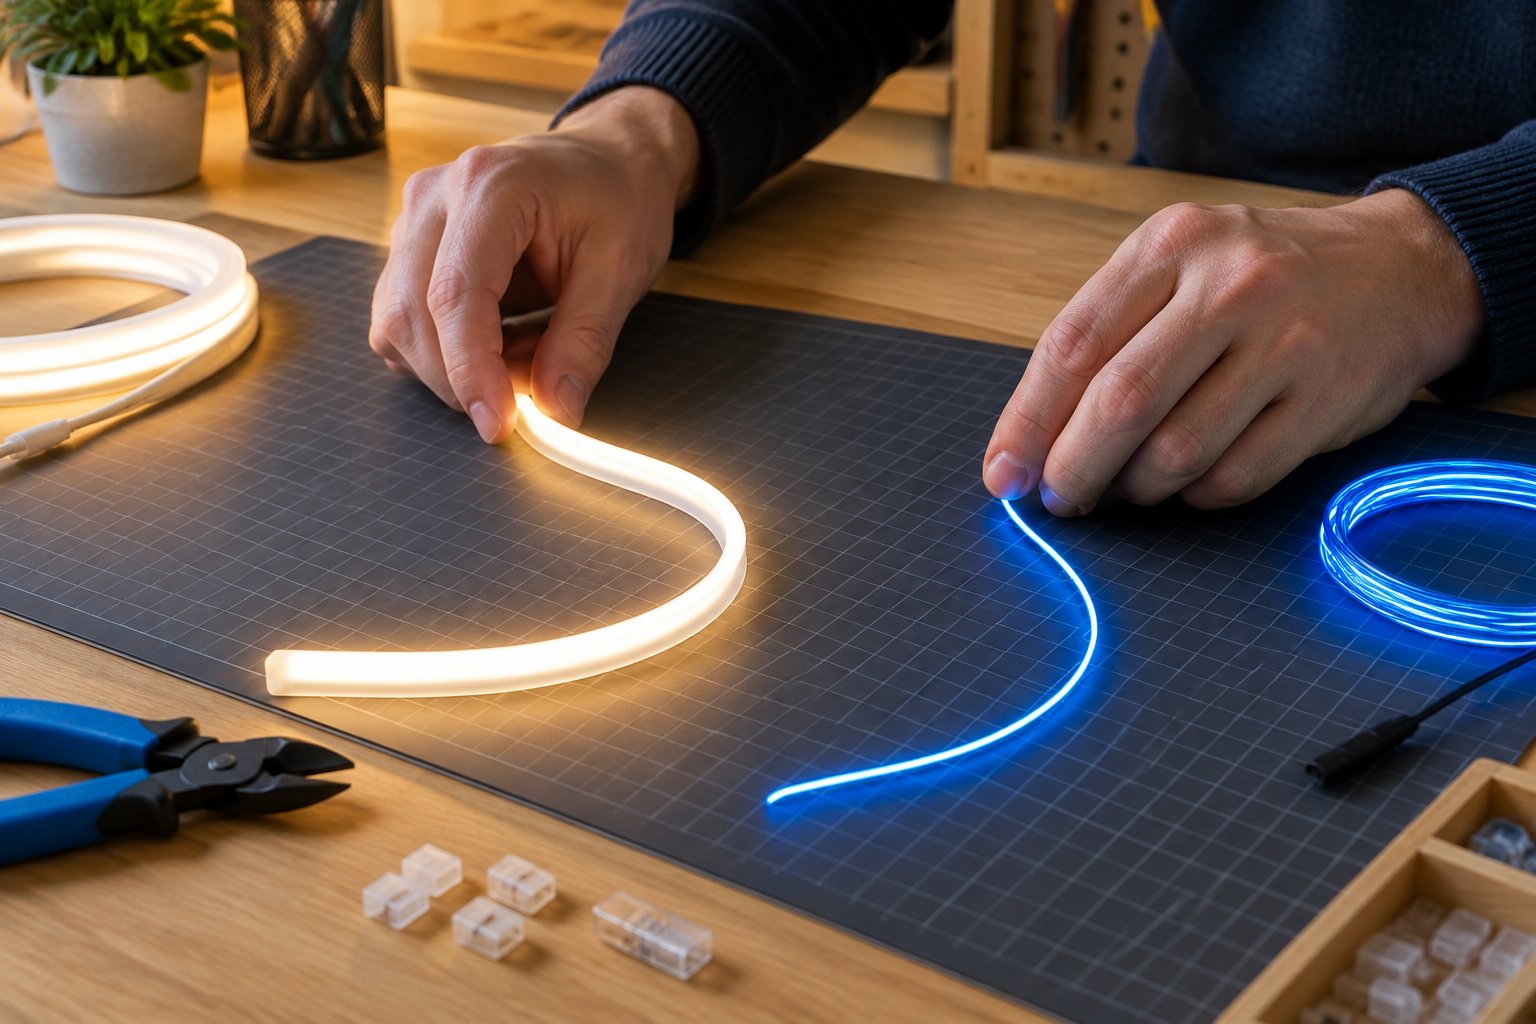
LED neon flex is the better choice for a wall sign you want to look like real neon. It produces a thick, continuous line of light that reads clearly from across a room, which is why nearly every finished LED neon sign, including ours, uses it.
EL wire suits a different job. It is thin, very easy to bend into tight cursive, and runs from small battery packs, so it works for costumes, party props, and quick faux neon sign crafts. The glow is softer and dimmer, and it fades noticeably in a lit room.
| Feature | LED neon flex | EL wire |
|---|---|---|
| Brightness | High, visible in daylight | Low, best in dim rooms |
| Line thickness | About 6 mm to 12 mm | About 2 mm to 3 mm |
| Bend radius | Moderate | Very tight |
| Power | 12V or 24V DC adapter | Battery inverter |
| Lifespan | Long, tens of thousands of hours | Shorter, fades with use |
| Best for | Wall signs, logos, events | Costumes, small fake neon sign crafts |
Our recommendation is straightforward. Choose LED neon flex for anything that will hang for months, such as custom neon signs for a bedroom, a home bar, or a shop counter. Reach for EL wire only if the piece is temporary, very small, or must run on batteries.
What Materials and Tools Do You Need?
A basic DIY LED neon sign needs about a dozen items, and most of the cost sits in the LED neon strip and the power supply.
Materials
- 12V LED neon flex strip: measure the total length of your design and add 15 to 20 percent for leads and mistakes. Choose a cuttable strip with marked cut points.
- Acrylic sheet: 3 mm for small desk pieces, 5 mm for anything 50 cm wide or larger. Clear hides best on a wall.
- Mounting channels or clips: silicone or aluminium channels hold curves far better than glue alone.
- Clear silicone adhesive: for fixing flex into channels and sealing end caps.
- End caps and connectors: matched to your strip’s width.
- 22 AWG two-core wire: for jumpers between separate letters.
- Heat shrink tubing and solder: to insulate every joint.
- 12V DC power adapter: certified (CSA or UL marked), rated at least 20 percent above the strip’s total wattage.
- Inline switch or dimmer: optional but practical.
- Standoffs or hanging chain: for mounting.
Tools
- Soldering iron and helper hands
- Wire strippers and a sharp utility knife
- Heat gun or lighter for heat shrink
- Drill with acrylic bits (step bits crack less)
- Multimeter for checking polarity and continuity
- Ruler, masking tape, and a printed template
Check the strip’s watts per metre before buying the adapter. A 3 m run at 10 W per metre draws 30 W, so a 36 W or larger adapter keeps it running cool.
How Do You Design a Sign That Is Easy to Build?
The easiest neon sign design uses one continuous stroke per word, a medium-weight script, and letters at least 8 cm tall. Each break in the line means another cut, another solder joint, and another dark spot, so fewer breaks give a cleaner result.
Start in vector design software. Adobe Illustrator is the standard, and Inkscape is a free alternative. Type your wording, convert it to outlines, then trace a single centre line through each letter. That centre line is the path your tubing follows.
Use these rules when shaping the path:
- Respect the bend radius. Most neon flex will not turn tighter than about 2 cm to 3 cm without kinking. Loosen tight loops in letters like “e” and “a”.
- Connect letters wherever you can. Script fonts let one strip run through a whole word.
- Avoid tiny details. Dots, thin serifs, and small punctuation are hard to light evenly. Old English and other ornate fonts look striking but need simplifying.
- Plan the cable exit. Decide which corner the power lead leaves from and route the last strip toward it.
Print the design at full size, tape the sheets together, and lay your flex on top before cutting anything. This dry run shows you exactly where cuts and jumpers will fall. It is the same check our team applies when we simplify fine lettering or logos for a mockup on diy neon signs that customers bring to us for a professional build.
How Do You Assemble, Wire, and Mount Your Sign Safely?
Making a DIY neon sign safely comes down to insulating every joint, testing before you mount, and keeping all mains wiring inside a certified plug-in adapter. Follow this order:
- Cut the acrylic. Score it with a utility knife several times, then snap it over a table edge. Leave a 3 cm to 5 cm border around the design.
- Transfer the design. Tape your template under the clear sheet and mark the path with a fine marker on the protective film.
- Fix the channels. Glue mounting channels along the path and let the adhesive cure for the full time on the label.
- Cut the strip only at marked points. Cutting between marks kills a section of LEDs.
- Solder and insulate. Tin both wires, solder the jumper, check polarity with a multimeter, then slide heat shrink over each joint. Seal open ends with end caps and silicone.
- Test on the bench. Power the sign for at least 30 minutes. Feel the adapter; warm is fine, hot means it is undersized.
- Press the flex into the channels. Work in short lengths and tape curves while the silicone sets.
- Drill and mount. Drill standoff holes slowly at low speed, then hang the sign with fixings rated for your wall.
A typical 60 cm sign built this way weighs only a few pounds, so drywall anchors handle it well. Keep the cord away from walkways and leave the adapter uncovered so it can shed heat.
Neon sign making at home should stay plug-in. For hardwired setups or any outdoor electrical work in Ontario, use a licensed electrician, and use only led neon strips and connections rated for wet locations outdoors.
How Much Does DIY Cost Compared With a GlowX Custom Sign?
A small DIY sign can be built for well under $100 in materials, while a professionally made custom sign costs more because it includes design, fabrication, testing, and support. The gap narrows quickly once you price tools you do not already own.
| Cost item | DIY build | GlowX custom sign |
|---|---|---|
| Materials | Roughly $60 to $150 for a small name sign | Included in quote |
| Tools | $50 to $150 if starting from zero | Not needed |
| Design | Your time in vector software | Free mockup within 24 hours |
| Build time | One to two weekends | 10 to 12 days production after approval |
| Included extras | Bought separately | Power adapter, dimmer or remote, hanging hardware, instructions |
The custom neon signs cost on our site is shown as a starting price. Your final quote depends on size, wording, artwork complexity, colours, lighting features, backing, mounting, and outdoor protection, plus shipping and taxes. Nothing goes into production until you approve both the design and the final price.
DIY makes sense for a one-off name sign where you enjoy the process. A professional build is the stronger pick for logos, RGB full-gradient effects with app control, outdoor storefronts, and custom neon signs for events with a fixed date. We ship custom neon signs across Canada, including Toronto, and worldwide, and you can browse Custom Signs or Business Signs to compare styles before you decide.
Bring Your Design to Life With the Right Build
A successful DIY custom neon sign starts with 12V LED neon flex, a clear acrylic backer, and a certified adapter sized above your strip’s wattage. Design in single continuous strokes, keep bends above the strip’s minimum radius, and insulate every solder joint before a full bench test.
Keep the project plug-in and indoors unless an electrician handles the outdoor wiring. For a quick, low-cost piece, the parts list and steps above are enough to finish in a weekend.
For logos, large statement pieces, colour-changing effects, or event deadlines, high quality custom neon signs from a dedicated maker save time and rework. Send your wording or artwork, approximate dimensions, location, and deadline to info@glowx.ca, and we will return a mockup and exact quote for you to review.
Related reading
customize your own sign · neon sign decor ideas · neon signs examples · installation and care FAQs · neon signs for kitchen · neon signs gym · home and bar decor
Neon Signs Depot vs. GlowX: 2026 Buying Guide

Neon Signs Dunelm: Designs, Prices and Custom Options 2026
Neon Signs Decor: Room Ideas and Custom Design Tips

Neon Signs Guy: Find the Right Custom Sign Maker
Neon Signs Garage: Custom Ideas and Buying Guide
Neon Signs Game Room: Custom Design and Setup Guide

Neon Signs for Classroom: Ideas, Design, and Setup
Neon Signs for Home: Room Ideas and Custom Design Tips
Neon Signs Edmonton Alberta: Custom LED Buying Guide